
Wood Floor Sanding Prep Essentials for a Flawless Finish
Preparing a timber floor properly before the first grain of abrasive paper ever meets the boards is the difference between a dreamy transformation and a dusty disappointment. In this in-depth guide we’ll explore every step of effective Wood Floor Sanding Prep, from sweeping aside sofas to sequencing your sanding grits. Follow along and you’ll begin the big day confident that nothing has been left to chance.
Why Preparation Matters
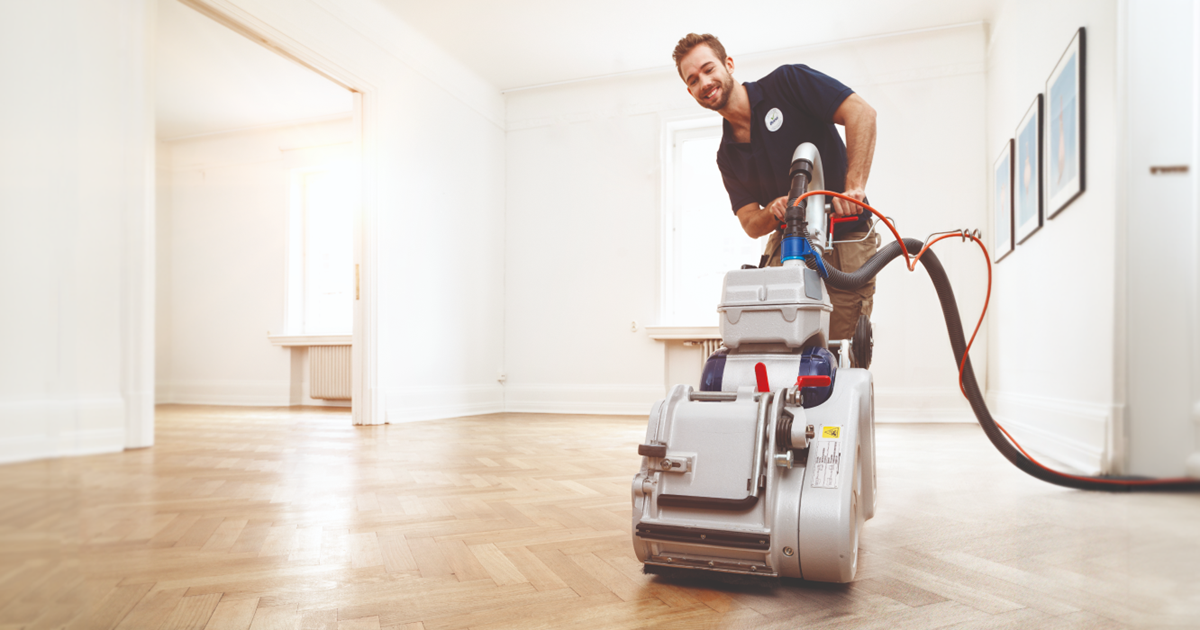
A floor sander—whether hired for the weekend or tucked in your van—is a precision machine, not a magic wand. If grit, staples or stray socks lurk beneath the drum, they’ll scar the finish, clog the paper and send costs soaring. Thorough Wood Floor Sanding Prep minimises downtime, keeps consumables on budget and ensures every square inch receives an even, blemish-free cut.
Step 1: Empty the Space Completely
Move Furniture the Smart Way
- Plan the exit route. Clear hallways first so you aren’t pin-balling armchairs through narrow doorframes.
- Lift, don’t drag. Dragging risks gouging soft pine or leaving cast-iron wheel tracks on brittle varnish.
- Use sliders and blankets. They spread weight and protect both the furniture and the boards beneath.
When the last skirting-scuffer is out you can roll back rugs and feel for loose boards without obstruction—a cornerstone of meticulous Wood Floor Sanding Prep.
Detach Doors & Fixtures
Interior doors frequently scrape the surface once the final finish adds a millimetre of film. Pin them off their hinges and stash hinges and screws in labelled bags. Wall-mounted shelving, radiator covers or low-slung sockets should follow suit if they impede the sanding line.

Step 2: Inspect & Repair the Floor
- Secure loose boards: Tap galvanised nails two millimetres below the surface or use lost-head screws for stubborn movement.
- Punch down protruding fixings: Even the smallest brad will shred abrasive belts.
- Replace damaged planks: Modern reclaimed boards can be feathered into period flooring with a rebate plane for a nearly invisible join.
- Fill gaps sensibly: For Victorian pine, mix fine dust from the first coarse sanding pass with solvent-based resin for a flexible, colour-matched filler.
These small carpentry jobs take time, but they’re non-negotiable elements of professional-grade Wood Floor Sanding Prep.

Step 3: Deep-Clean Before You Sand
Dry Cleaning
Vacuum using a brush attachment, working with the grain, then follow with a microfibre mop to trap remaining particles. Pay special attention to corners where edger dust loves to congregate.
Wet Cleaning (When Safe)
If the boards are sealed, a lightly dampened mop and pH-neutral timber cleaner will lift greasy films that cause premature clogging. Never saturate bare wood; excess moisture leads to swelling and cupping.
Deal with Contaminants
Tar, old wax or iron stains should be cut away using a scraper or poultice because they can smear under heat. Thorough cleaning completes your Wood Floor Sanding Prep regimen and lets abrasives bite cleanly.
Step 4: Plan Your Sanding Strategy
Choose the Correct Grit Sequence
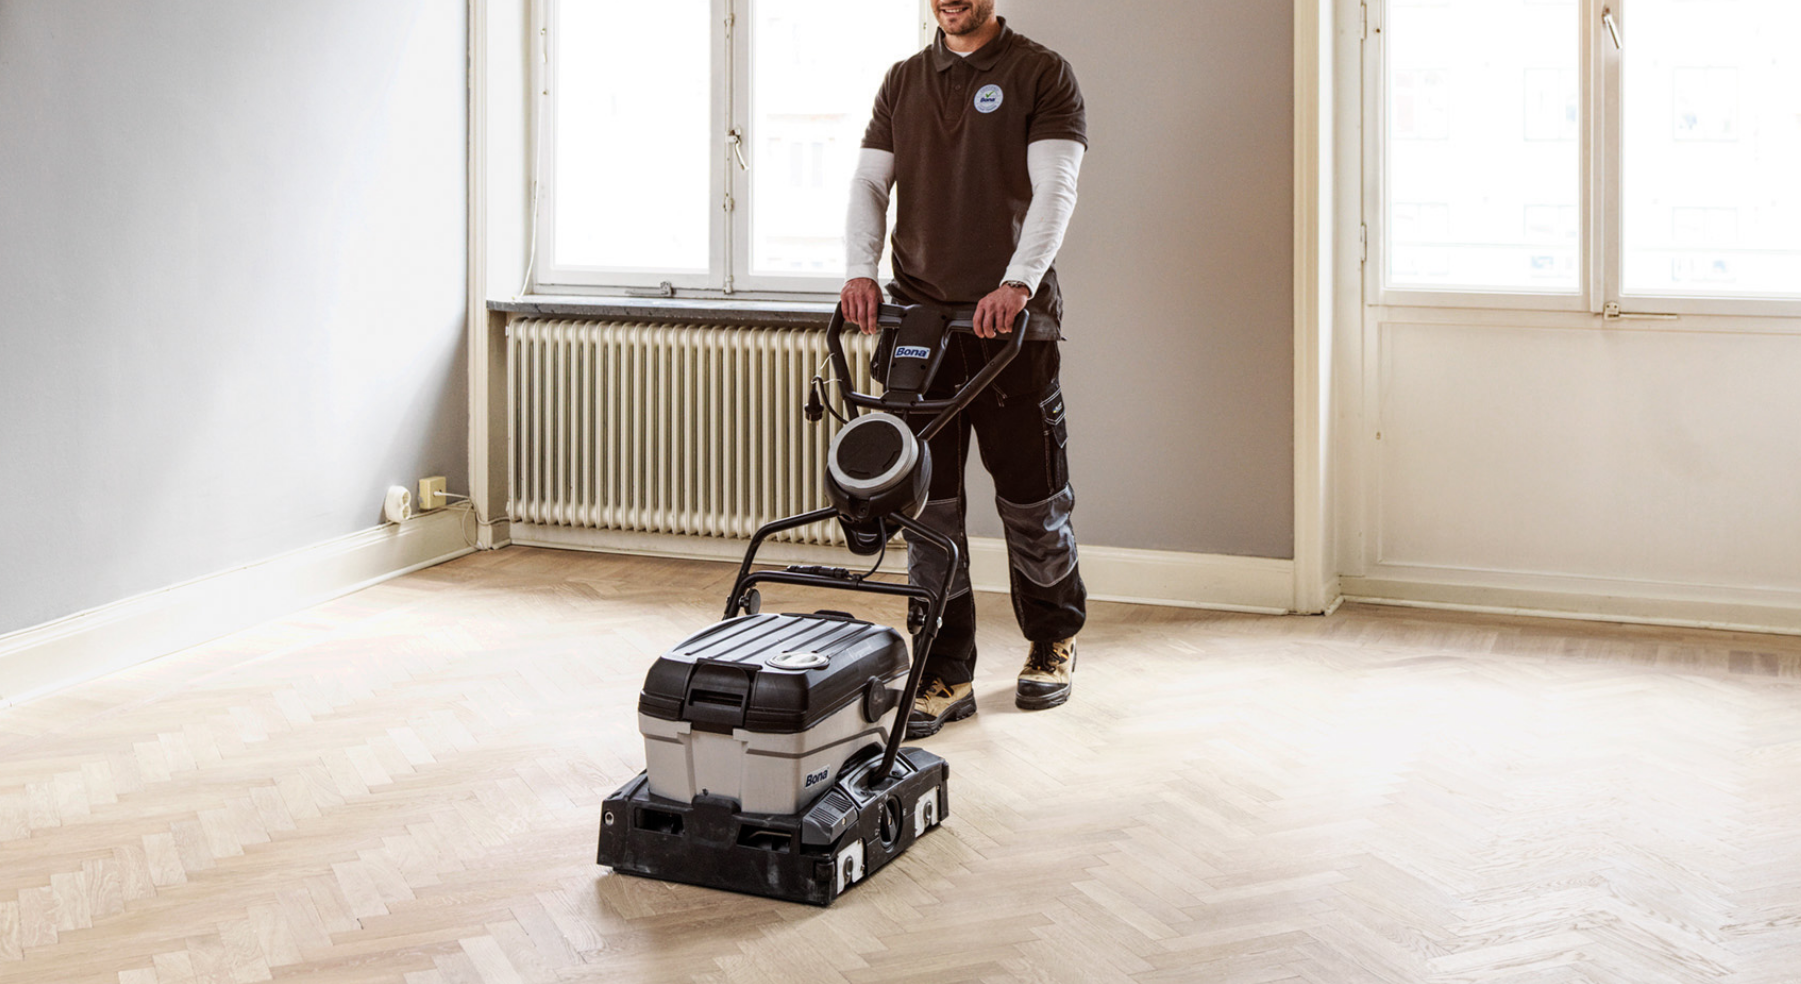
Most domestic pine responds well to 40-60-80-120 grit progression; parquet may need a 36-50-80-100 run to flatten cross-grain blocks. Sticking rigidly to the sequence is essential to prevent swirl marks that appear only after finish is applied.
Map Your Moves
Start furthest from the exit and sand towards it so you don’t back yourself into a corner. Chalk arrows on the floor to remind you of the sanding direction, especially if helpers will join the project later.
Schedule for Silence
Neighbours appreciate a timetable. Mid-morning to late afternoon avoids late-night drum roars and early-bird edger whines. A clear plan is at the heart of disciplined Wood Floor Sanding Prep.
Step 5: Control Dust & Ventilation
- Seal doorways with zipped plastic sheeting.
- Pressurise the room by positioning an extractor fan at a window sucking air outward.
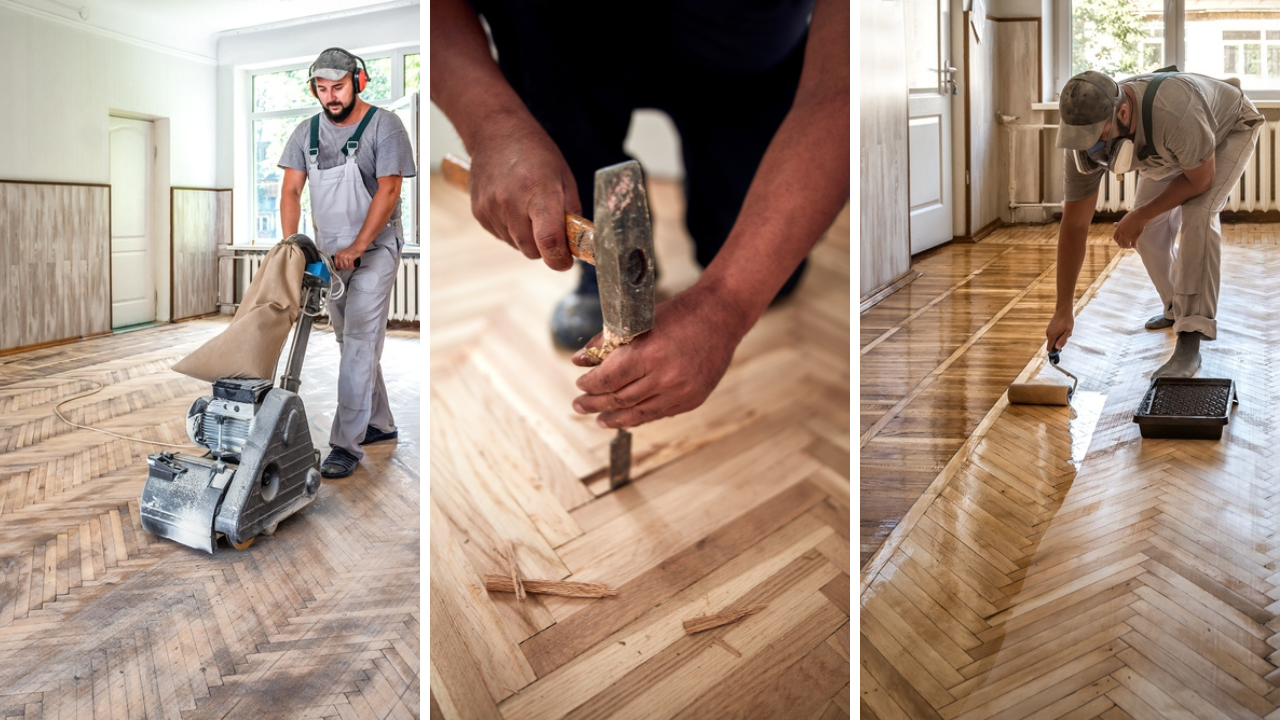
- Use modern dust-free sanders with HEPA extraction where possible.
Good airflow preserves your lungs and keeps settling dust from marring fresh lacquer.
Step 6: Assemble Your Toolkit
| Task | Essential Kit | Pro Tip |
|---|---|---|
| Clearing | Sack barrow, furniture sliders | Rent a short-term storage pod if space is tight |
| Repairs | Nail punch, trim saw, filler knife | Keep a magnet to catch rogue tacks |
| Cleaning | HEPA vacuum, microfibre pads | Swap pads between each grit change |
| Sanding | Drum/rotary sander, edge sander, corner detailer | Test drum pressure on scrap board first |
| Finishing | Tac-free cloths, micro-mesh pads | Strain varnish before application |
Check off every item the night before; a forgotten 60-grit belt can halt progress and derail your Wood Floor Sanding Prep.
Step 7: Safety First
Wear Class P3 dust masks, impact-rated goggles and ear defenders. Tape extension leads flat to the skirting to prevent tripping, and position a small CO₂ extinguisher nearby in case an old finish ignites under friction.
Step 8: Decide DIY or Professional
While a weekend warrior can deliver satisfying results, listed buildings, parquet or maple gym floors often warrant a specialist. Professionals bring industrial extraction, experience in handling lead-based paints and the knack for feather-edging where boards meet thresholds.
Frequently Overlooked Details
- Radiator valves gather dust—wrap them in cling film.
- Skirting gaps let grit spill under walls—mask with foam backer rod.
- Low humidity in winter shrinks boards; re-introduce moisture with a bowl of water overnight so joints don’t widen post-finish.
- Pets: book kennel time; paw prints on raw sealer equal heartbreak.
After the Final Pass
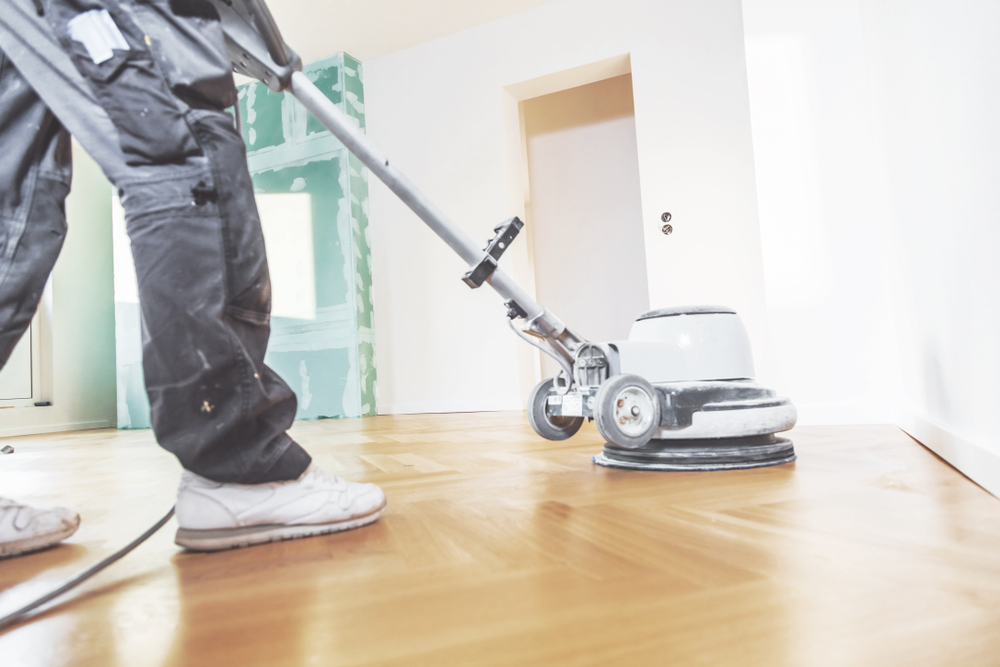
Allow the floor to cool for thirty minutes, then vacuum and tack-rag twice. Any grit left now becomes permanent debris beneath the seal coat. Store abrasives flat and dry for future maintenance.
Conclusion:
Dust-free boards, tight fixings and a well-planned grit path are the invisible heroes of a flawless floor. Invest a day in methodical Wood Floor Sanding Prep and the sanding itself becomes a smooth, almost meditative process rather than a noisy wrestling match. When the final coat cures to a satin glow, you’ll know every brushstroke is anchored by the unseen groundwork you laid long before.


